 Editing Images in Google Docs and Slides
 Add some pizazz to your images in Google Docs and Slides!
Did you know you can crop, add borders, and even reshape your images in Google Docs and Slides?
This feature has been around for just a few months, and it a great feature for students and teachers! Editing images give you the abilitity to add a professional touch to your presentations and documents.
Inserting Images
To begin, insert an image into a Google Document or Slide by going to the Insert>Image.
To begin, insert an image into a Google Document or Slide by going to the Insert>Image.
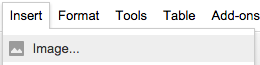
Navigate or search for the image you wish to insert. (Please see my previous tip: Image Search Tricks Every Teacher Must Know!) Once you have located the image, select or open to add it to the document or slide.
Resizing Images (Google Docs and Slides)
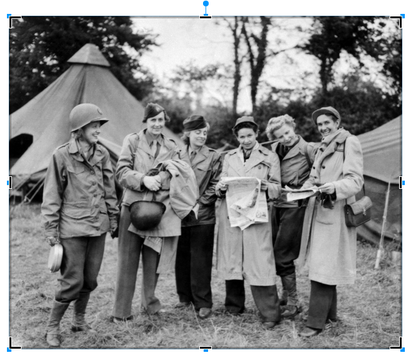
You can easily resize images by selecting the image and clicking and dragging the blue "handles" until you have the desired size. To keep proportions, click and drag from the corners instead of top, bottom and sides.
Resizing Images (Google Docs and Slides)
You can easily resize images by selecting the image and clicking and dragging the blue "handles" until you have the desired size. To keep proportions, click and drag from the corners instead of top, bottom and sides.
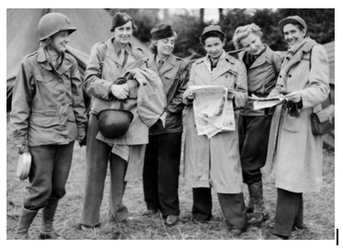
| Cropping Images (Google Docs and Slides) Double-click the image you wish to edit, or click on the crop button in the toolbar. Please note, one click gives you the blue handle bars for resizing and moving. A double-click will give you the new cropping tools as seen below. |  |
Click and drag the black cropping bars on the corners and sides to crop your image.
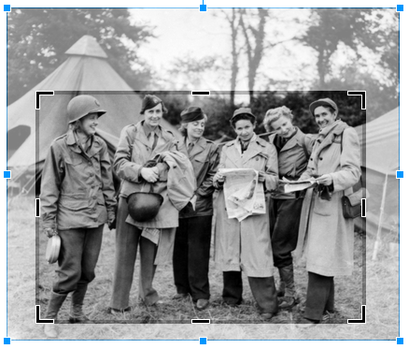
Select the area you wish to crop, then click Enter on the keyboard or click the crop button on toolbar to crop the image.
(Cropped Image)
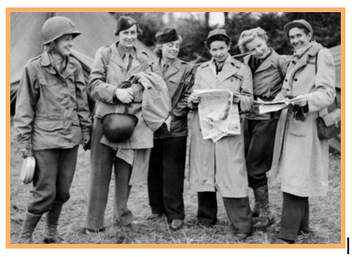
| Add a Border (Google Docs and Slides) You can easily add a border or frame to your images using the special toolbar that appears when your image is selected. First choose your color using the dropdown next to the pencil tool. The second tool allows you to choose the weight of the line. The third tool even lets you change to border to a dots or dashes. | 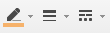 |
(Image with 4pt orange border)
| Reshaping Images (Google Slides only) Google Slides gives you an additional feature. You can reshape you images in Google Slides for added effect. Select the image, and then click on the drop-down arrow next to the crop button in the toolbar, then choose your shape. Voila! A new shape for your image! Below is an example. There are many different shapes to choose from that will add a little something extra to your presentations. | 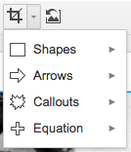 |

Hansueli Krapf, Aerial View of the Crop Circle in Diessenhofen, Attribution ShareAlike 3.0
| Reset Images Back to Original (Google Docs and Slides) Don't like the changes? Just click on the reset image button to return the image back to the orginal size and shape! |  |
This is just scratching the surface of the many ways you can enhance your Google Documents and Slides with images. Stay tuned for more Google Tricks and Tips!
Check out my other Google Tricks and Tips!
What are your favorite Google tips? Please share in the comments below.
Subscribe to this blog to get all the latest posts:
Check out my other Google Tricks and Tips!
What are your favorite Google tips? Please share in the comments below.
Subscribe to this blog to get all the latest posts:


